Setting Up a Jewelry Design Home Studio 101
(by Karen Chesna)
Building a jewelry design and/or metalsmithing studio at home doesn’t require huge pieces of furniture or equipment, but there are rules to follow.
Jewelry making is one of the oldest crafts that could date back to the beginning of the human society, evolving with social and technological development throughout centuries. Today, modern jewelers can complete the entire process of designing, casting, and assembly of jewelry design all by themselves, even in a simple home-based workspace.
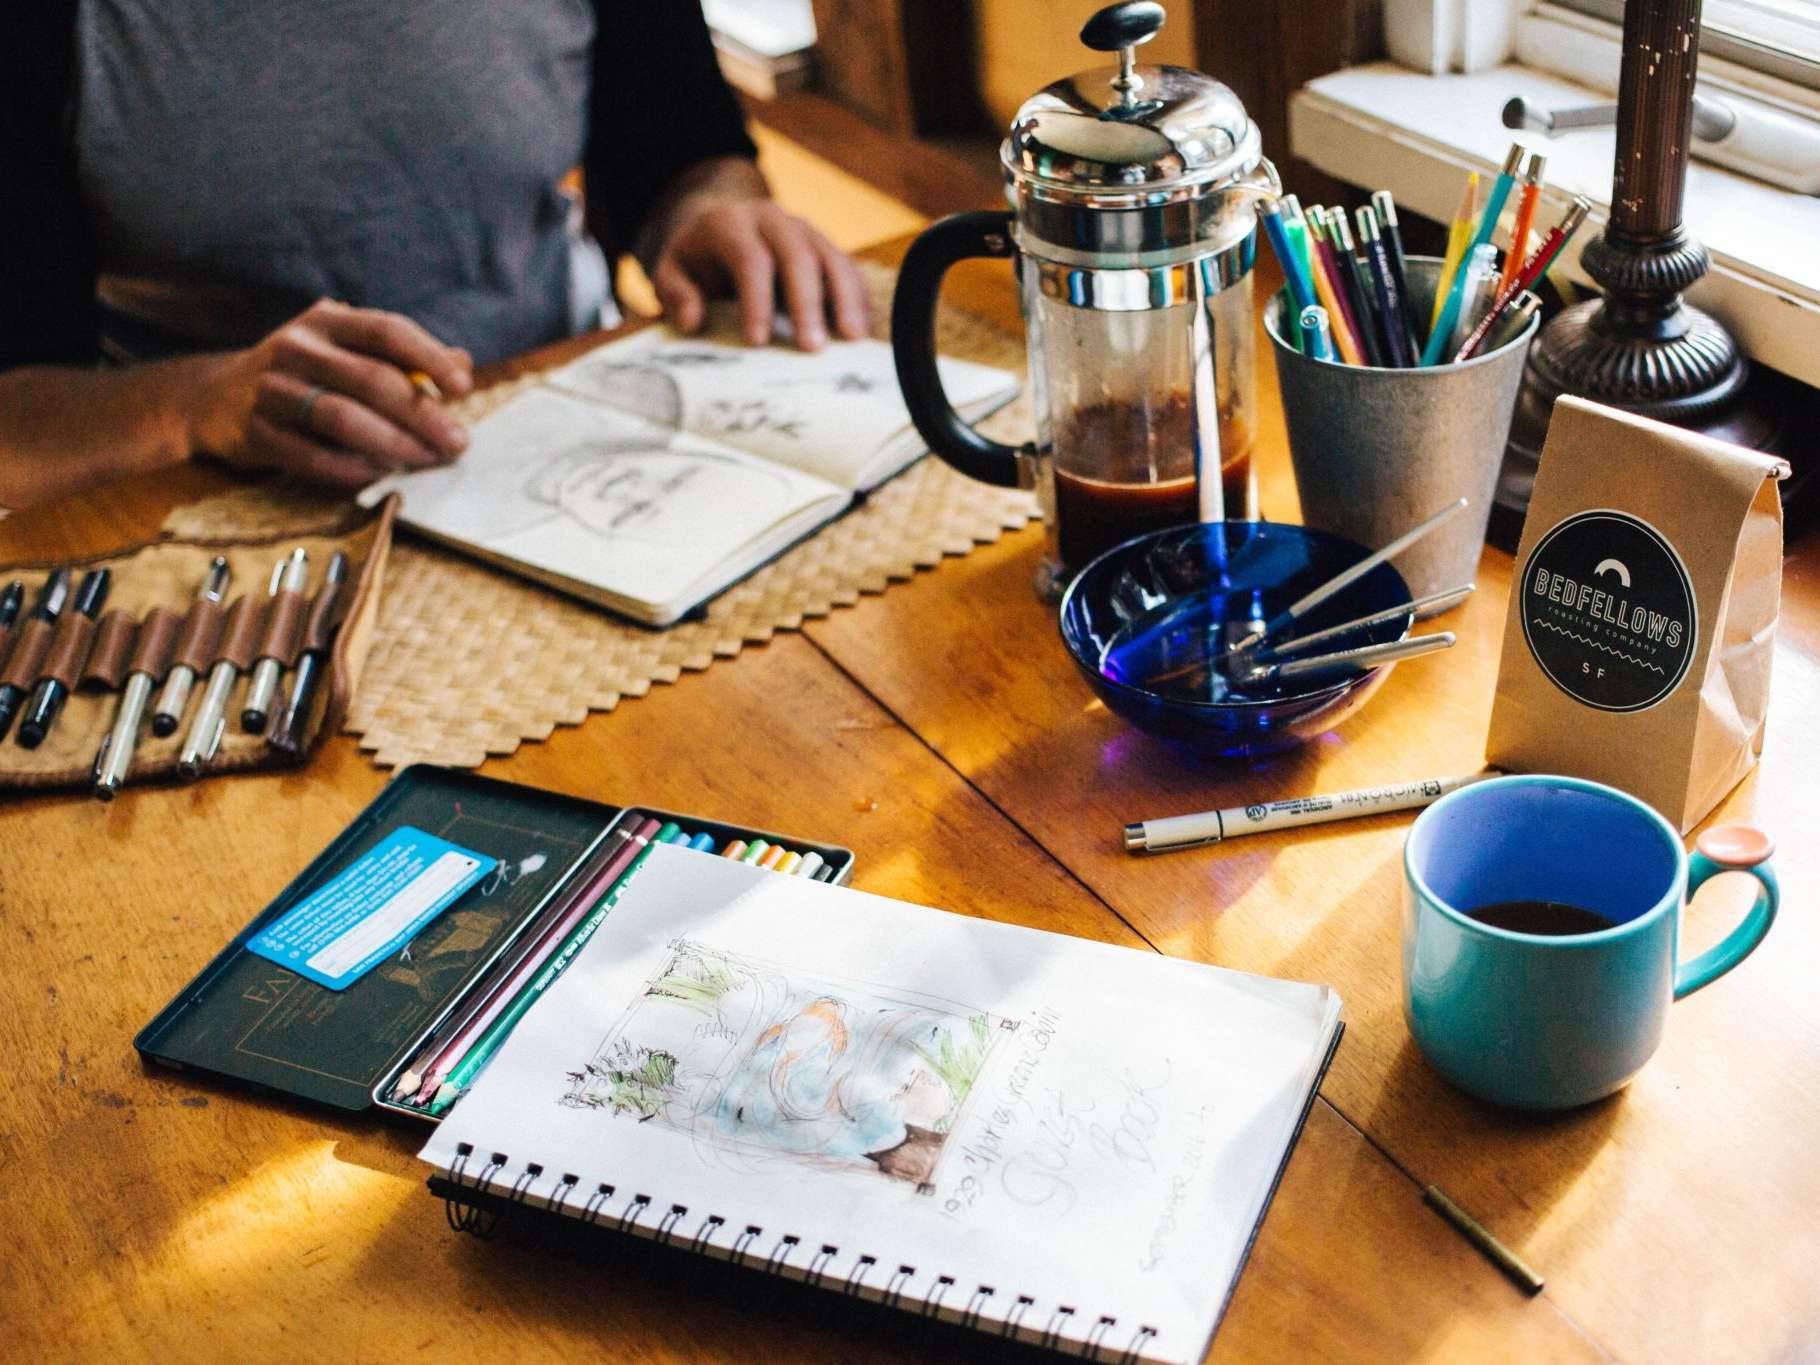
Are you thinking about setting up a jewelry-making studio at home? Here’s what you need to create a simple setup, similar to that used by many of our online jewelry students at the School of Jewelry and Metal Arts at Academy of Art University.
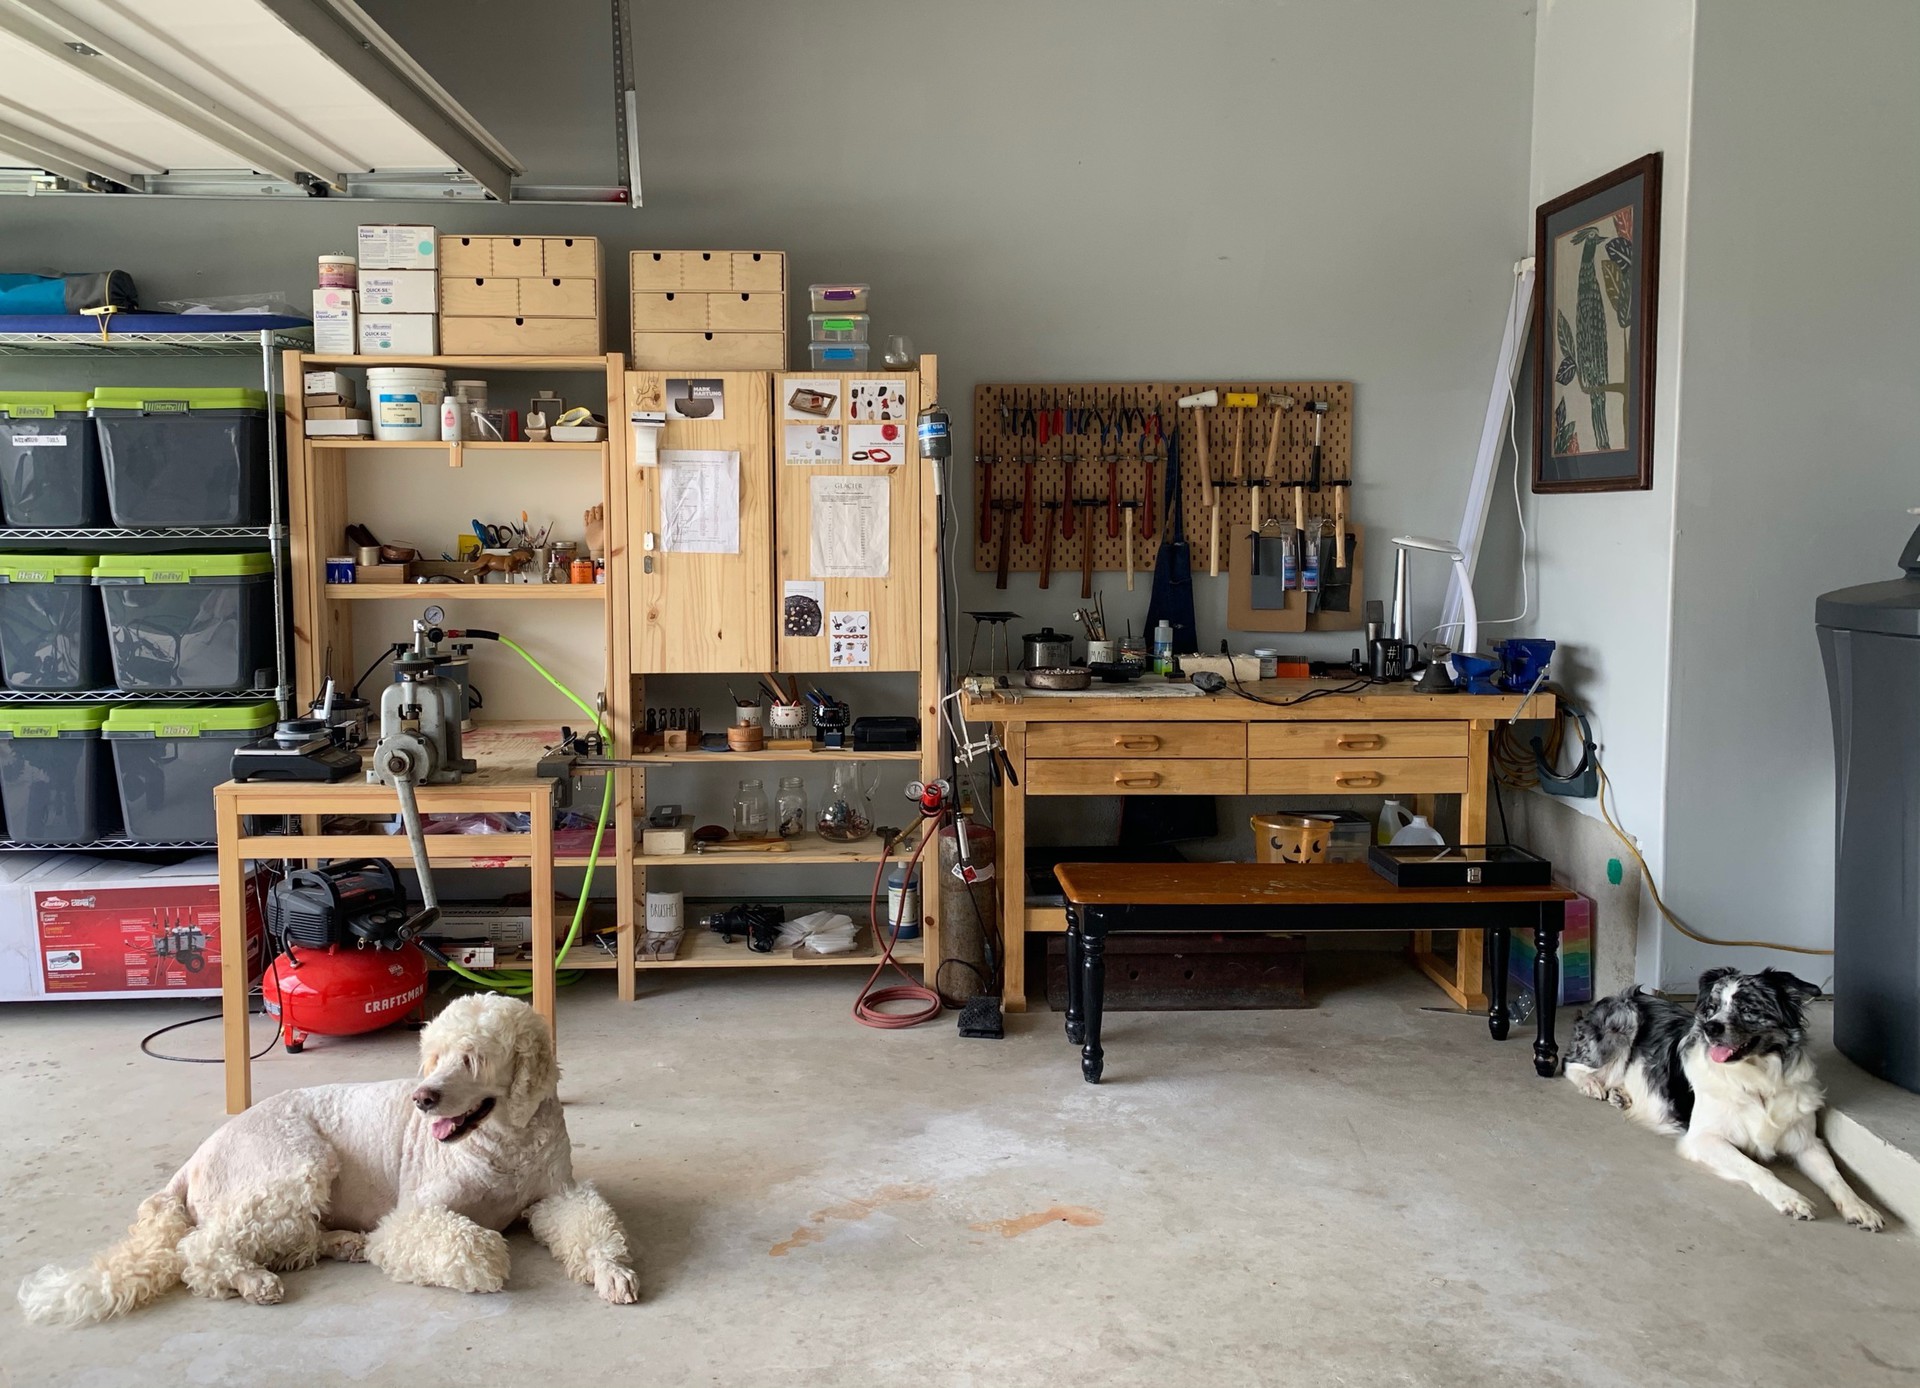
Choose a suitable location
Shay Pfeiffer and Jason Ogg
Depending on how sophisticated your jewelry-making process might be, the size of your workspace can range from a small corner in your living room to a good chunk of your basement, garage, or even your own outside shed.
An uncarpeted area is best, even if you do not intend to solder–stepping on broken saw blades and bits of sharp metal caught in the rug can really hurt! You will also need access to power for lighting, and to plug in small power tools such as a flex shaft or Dremel. A nearby water source is also handy.
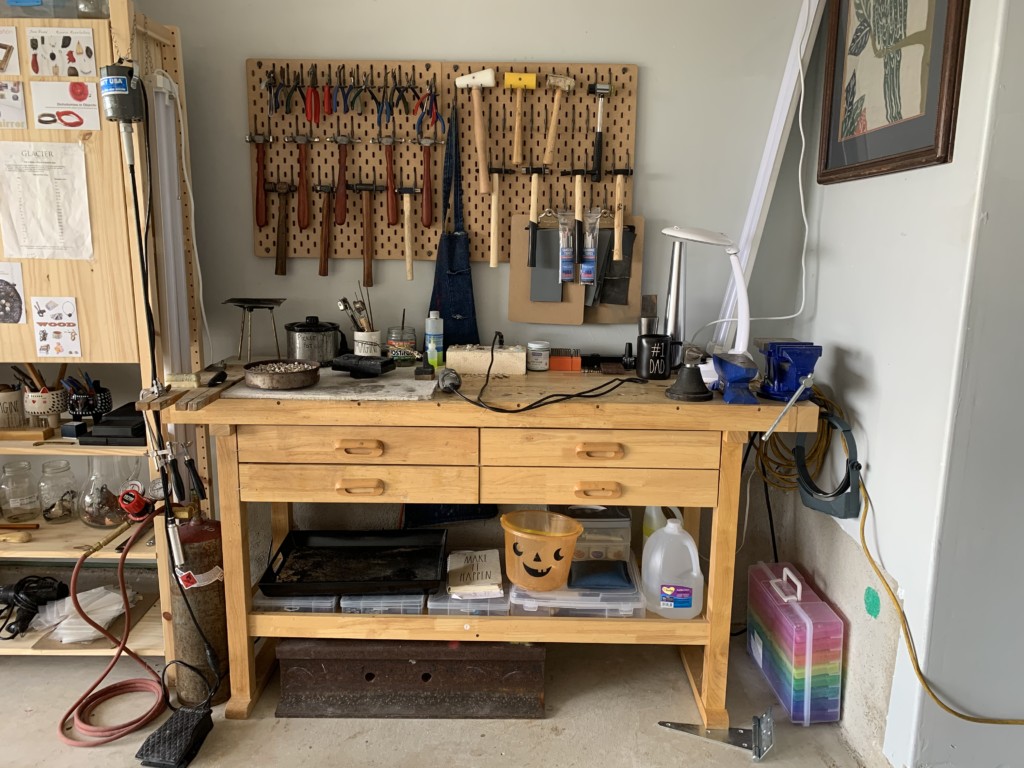
Use a solid work surface and comfortable chair
Shay Pfeiffer and Jason Ogg
While professional jewelers and many students work at a specially designed jeweler’s bench, a sturdy table or desk strong enough to withstand some serious hammering can also be used.
Look for one at garage sales, thrift stores, or discount tool suppliers such as Harbor Freight. Height is important to avoid a nasty backache; when you sit, your stretched out arm should be able to rest on the surface.
You can either raise the table with cinder blocks, or simply get an adjustable chair.
Create a solder-safe workspace
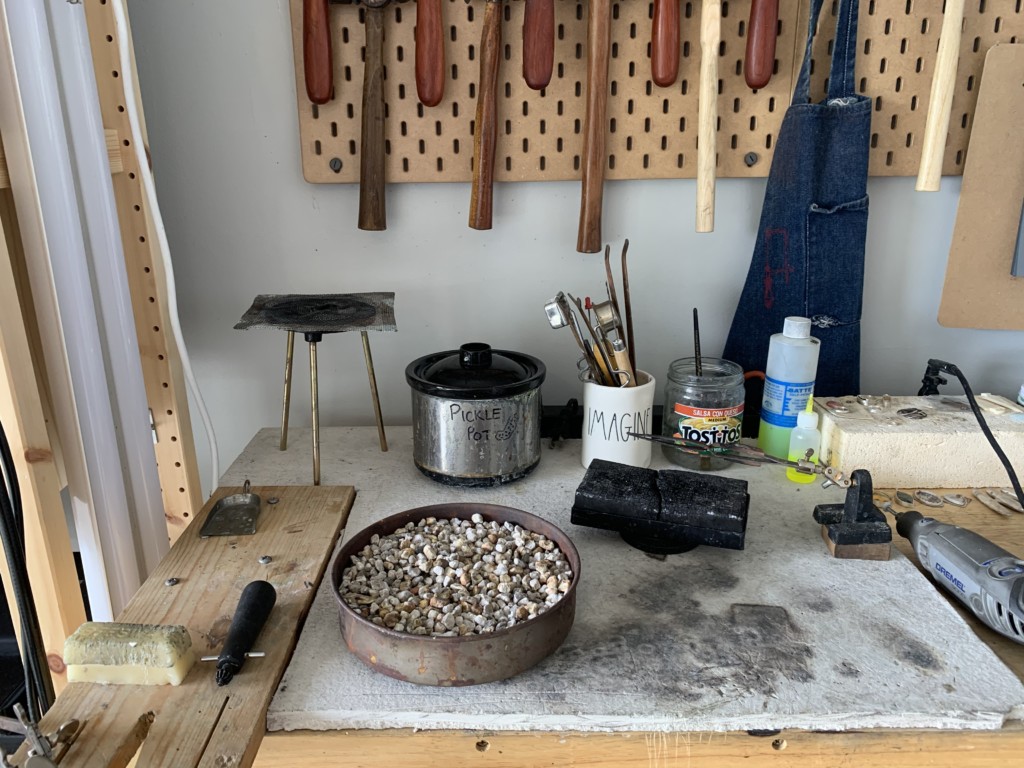
Shay Pfeiffer and Jason Ogg
Soldering can be done on a workbench, or on a separate table. If you plan to use soldering to construct jewelry, make sure first that the surface will be flame-resistant.
- Lay down a sheet of cement board or a layer of special firebricks that are available from jewelry suppliers such as Otto Frei, Rio Grande, or Contenti.
One word of caution: Do not use regular house building bricks for this purpose– these can explode in the presence of heat, and/or make your surface dangerously hot. - Once the table or bench is covered with the flame-resistant material, place your actual soldering surface (a soldering board, pumice pan, soldering tripod, or special jeweler’s charcoal block) on top of it. They should never be used directly on an unprotected wooden tabletop or benchtop. Again, these items can be found at any of the suppliers mentioned above.
- Always keep a fire extinguisher nearby and remove all combustible materials such as papers and rags from the soldering area.
- There are many fine books available by authors such as Joanna Gollberg, Anastasia Young, and Charles Codina that describe a safe soldering setup in greater detail, or take an online jewelry class with us at Academy to learn more.
Have good ventilation
Shay Pfeiffer and Jason Ogg
If you do any work that involves polishing, grinding, enameling, casting or soldering, a fan or suction device to extract fumes and dust from the work area, preferably down and away from your face, is important.
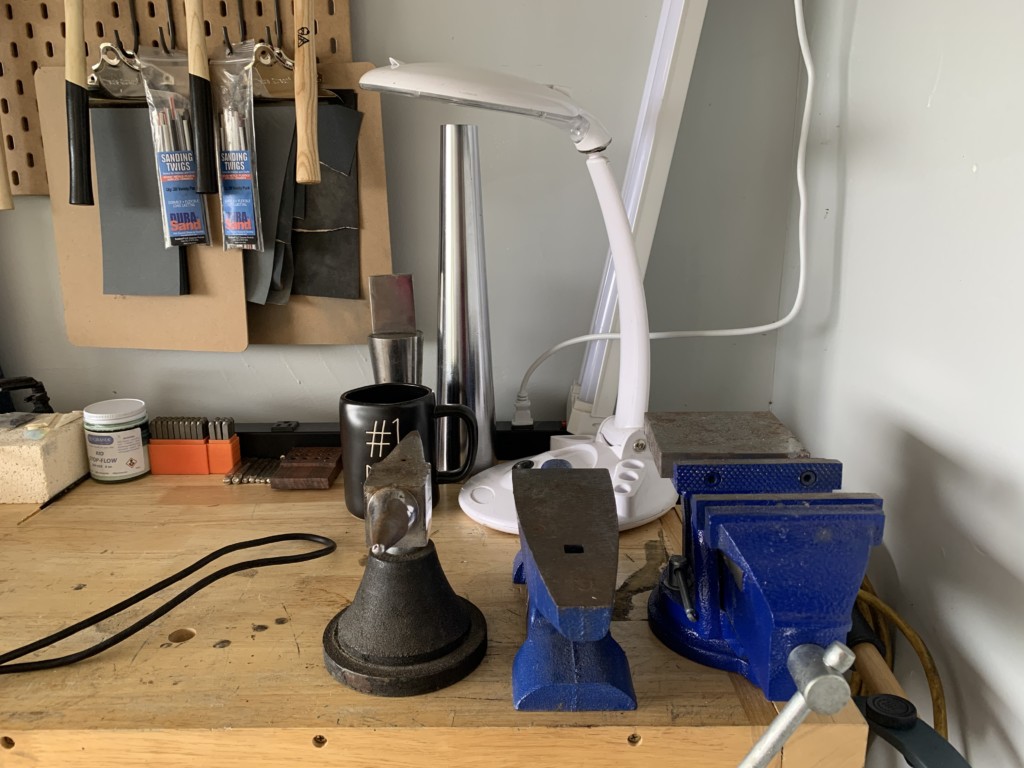
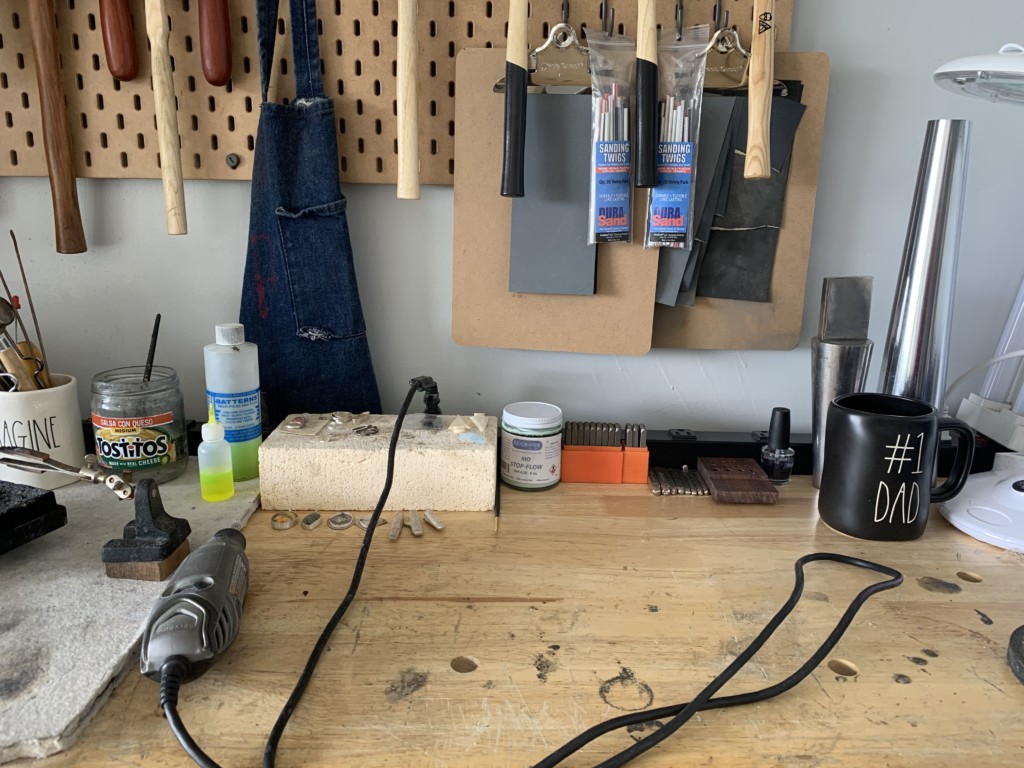
Keep a set of simple tools
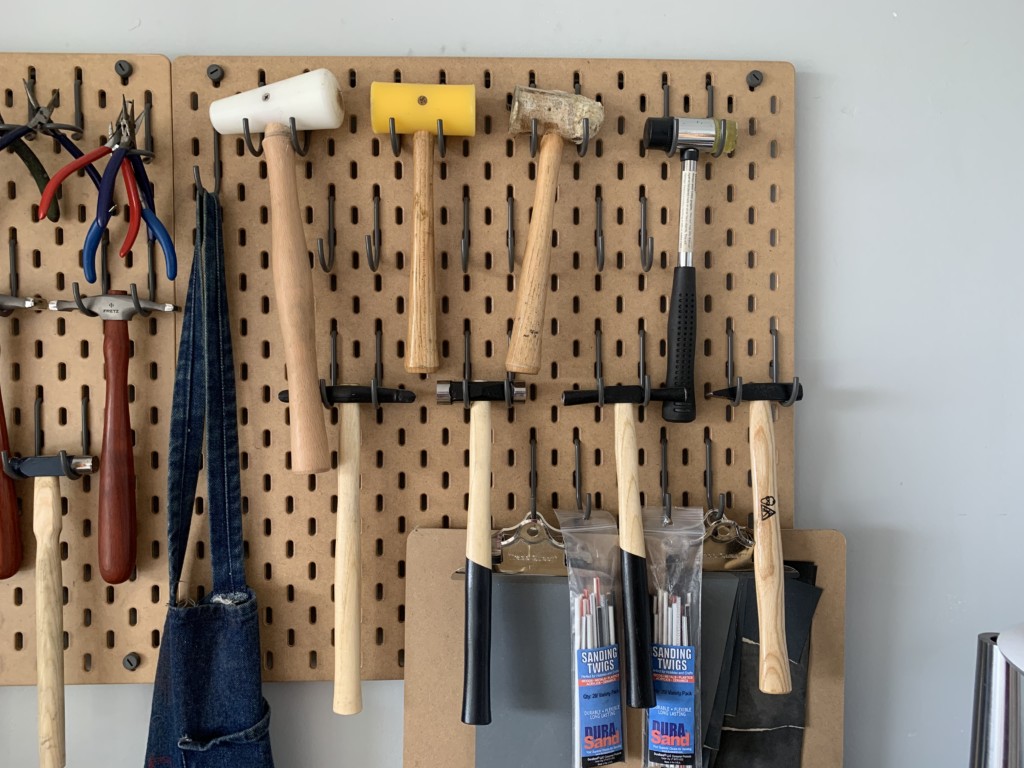
Shay Pfeiffer and Jason Ogg
While a professional jeweler’s studio can contain thousands of dollars’ worth of tools, it is surprising how few hand tools you really need to make a piece of jewelry.
With a clamp-on bench pin (the kind with an attached metal anvil works especially well), a jeweler’s saw frame and fine sawblades, a ball-peen hammer, a file, small wire cutters, and a basic set of pliers (smooth jawed flat nose, round nose, and chain nose), you can already fabricate enough work to fill a small booth at a craft show or farmer’s market.
You can also buy a small inexpensive non-power hand drill (an alternative to a more costly Dremel or flex-shaft) and tiny drill bits if you want to try riveting or sawing designs into the interior of your sheet of metal (this is called piercing, or fretwork).
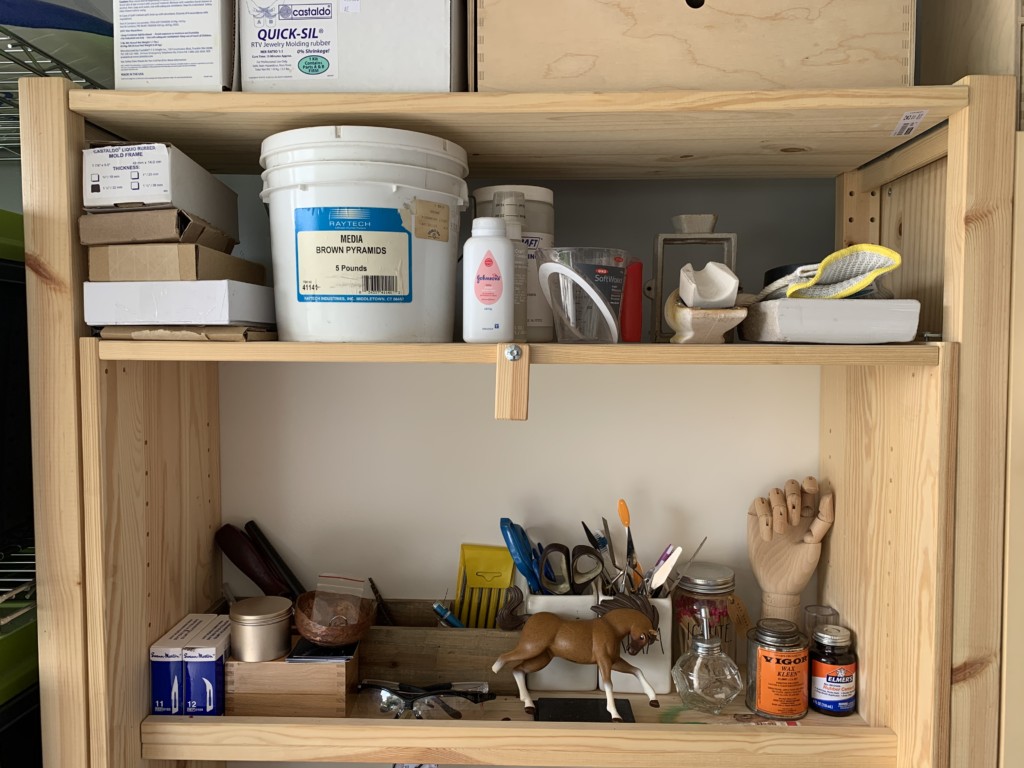
There are many other pieces of jewelry making equipment that you may wish to purchase as your skills expand: a professional quality flex shaft, rolling mill, drill press, enameling kiln, wax carving and casting setup, and of course that all-important torch for soldering.
Invest in protective gear
Shay Pfeiffer and Jason Ogg
Last, but extremely important for your health and safety, you must have the following to protect your eyes, lungs, feet and clothing. Saying no to these is not an option!
- A pair of safety glasses or goggles that cover your face above, below and to the sides of your eyes. A pair of ordinary eyeglasses will not deflect that spiky earring that suddenly flies out of your hands as you are polishing it!
- A respirator or an N95 mask rated for silica hazard, a substance that is found in many of the compounds and wheels used for polishing and shaping metal.
- A shop apron of heavy cotton (like denim or twill) or leather.
- Closed-toe shoes. Sharp or heavy metal objects always seem to find your feet!
- A hair tie to tie back long hair, and keep it away from torch flames and spinning machinery- ouch!
If you’re interested in jewelry and metal arts degree programs, visit the School of Jewelry & Metal Arts page or request for more information about both the onsite and online degree programs. And if you’re ready to join the Academy of Art University community, get started on your application today.
About the Author
Karen Chesna is the Online Coordinator for the School of Jewelry and Metal Arts at Academy of Art University. She owns and operates Glacier Metal Arts Studio in Missoula, Montana, where she also teaches metalsmithing to students of all skill levels.
Hero image by School of Jewelry and Metal Arts students Shay Pfeiffer and Jason Ogg